Turkey Sous Vide Style
Sous Vide Turkey (by Parts) — 150°F, 2–2.5 hours | Dr. Terry Simpson
Sous Vide Turkey (by Parts) — 150°F, 2–2.5 hours
Even doneness, juicy meat, and crackly skin—without babysitting the oven. Break the bird into parts, cook precisely, finish hot.
Can’t see the video? Watch it on YouTube.
Jump to: Ingredients Method Why sous vide works Nutrition Med-Diet Points Temps & safety
Ingredients
- Whole turkey or parts (breasts, thighs, drumsticks, wings)
- Kosher salt & black pepper
- Fresh thyme & sage + garlic — rolled into plastic-wrapped 1″ “herb plugs”
- Duck fat or extra-virgin olive oil (small dab per bag)
- Optional brine: 1 cup kosher salt + 1 cup brown sugar per gallon water, plus 1 qt apple cider (keep cold)
Method — Precise & simple
- Break down: Ask your butcher to separate white and dark meat, or do it yourself. Save trim for stock.
- Salt or brine: Prefer dry salting (6–24 h in the fridge) to dry the skin. If brining, keep everything cold.
- Bag with aromatics: Season with pepper; add herb plugs and a dab of fat; seal.
- Cook sous vide: 150°F / 65.6°C. Dark meat: ~2 h. Breasts: ~2–2.5 h. You can hold longer without drying out.
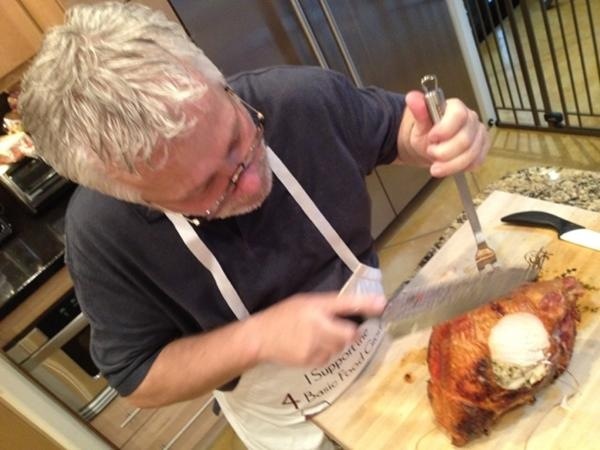
- Dry & finish hot: Pat very dry. Roast parts on a high center rack ~15 min or pan-sear 60–90 sec/side for color/crisp skin.
- Serve or save: Only finish what you’ll serve. Chill sealed extras in ice bath → fridge/freezer. Rewarm sealed at 140–145°F ~30 min; then sear to serve.
Why sous vide works (quick science)
- Precision = no overshoot: The bath holds your target temp, so the outside never overcooks while the center catches up.
- Protein dynamics: In the 140–150°F range, myosin sets while actin hasn’t fully tightened—yielding tender, juicy slices.
- Time × temperature: Food safety can be achieved at lower temps if held long enough; a hot finish adds color and surface safety. :
Nutrition (estimates)
Per ~6 oz cooked meat; most bag fat isn’t consumed. Brining raises sodium.
| Cut (per ~6 oz) | Calories | Protein | Carbs | Fat | Saturated | Sodium* |
|---|---|---|---|---|---|---|
| Breast (skinless, seared) | ~300 | ~52 g | 0 g | ~8 g | ~2 g | varies |
| Thigh/Drumstick (with skin) | ~360 | ~34 g | 0 g | ~22 g | ~6 g | varies |
*Season to taste; brine increases sodium.
Mediterranean-Diet Points (house system)
Poultry ≤ 6 oz = 1 point + Veg + EVOO (big salad / roasted veg) = +1 + Whole grains (farro, brown rice) = +1–2
Let protein be the accent; stack points with plants, olive oil, and whole grains.
Temps & food safety
- USDA conventional guidance: Poultry to 165°F / 74°C when cooked traditionally.
- Sous vide safety: Safety is a function of time × temperature; proper holds at lower temps can pasteurize. Finish with a hot sear.
- Reference styles: Many chefs target 145–150°F for turkey breast in sous vide for juicier results.